Would you like to download the How to Draw A Coffin Step by Step printables? You're just one step away! Sign up now and download the 4 PDF Printables for FREE!

Would you like to download the How to Draw A Coffin Step by Step printables? You're just one step away! Sign up now and download the 4 PDF Printables for FREE!
A coffin drawing needs to be symmetrical. It needs to have a very specific size and shape, and only then will it look realistic. If you are confused as to how you can arrange your drawing in such a manner, do not worry because I have got you covered. I worked out the step by step process for drawing a coffin, and I think you will be able to trace these steps to draw it on your own.
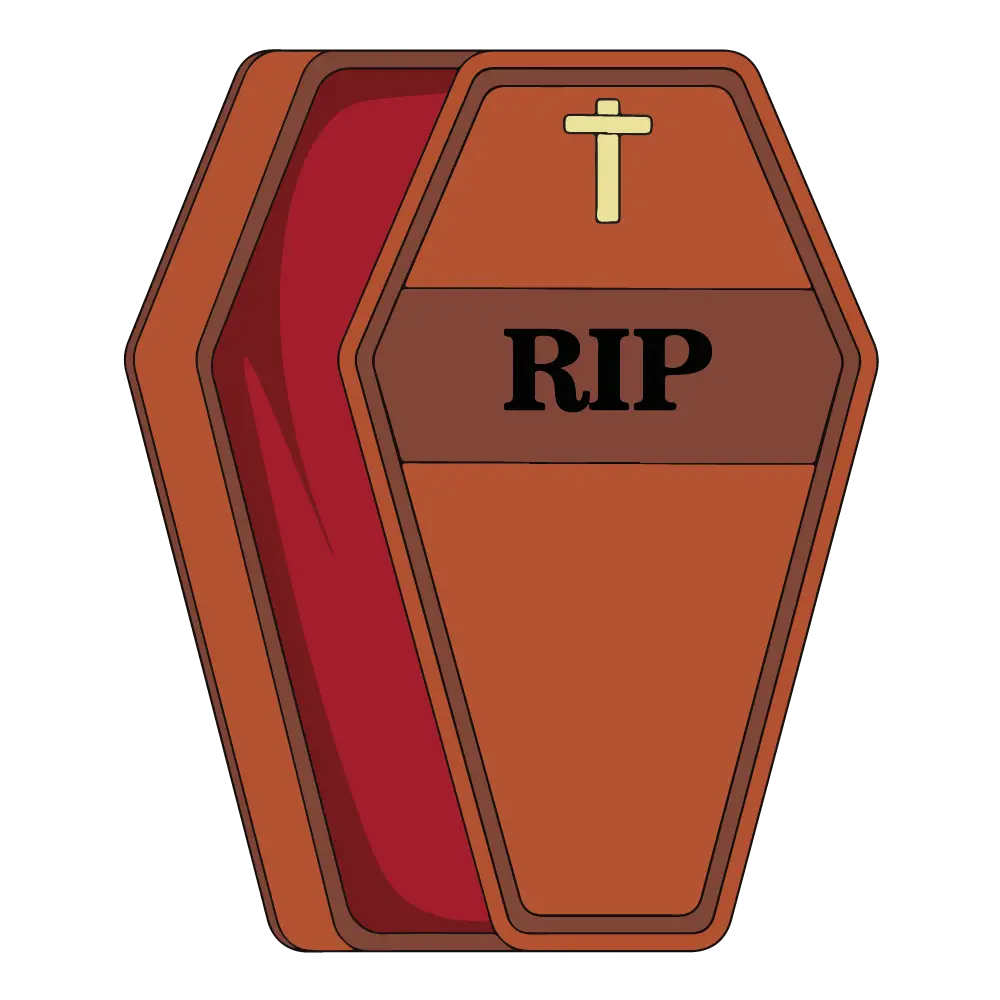
To draw a coffin, we take a top to bottom approach. The figure is kept symmetrical and is given a classy vibe to it. We then finish things off by engraving the letters ‘RIP’ on it.

The top is drawn in the shape of an elongated diamond.

Draw two outlines within the top.

Behind the top cover, add the coffin. It is similar in size and shape to the cover.

Give the coffin a box like look, which will help add depth to your drawing.

A double horizontal line from left to right is drawn on the top. It is a bit wide.

On top of the design on the cover, draw a cross.

Write an ‘R’ on the wide horizontal cover design.

Add an ‘I’ and a ‘P’.

Use a sharp pencil to add the finishing touches.

Finish your work by coloring the coffin. Make sure the letters are clearly visible.

Jimena & Iñigo
The Navarro-Rubios
My husband and I are learning how to draw and paint. We wanted to share this learning process with the world and have fun! That's why we created this blog. We'll have drawing contests every week and you'll decide who won that week! Follow along and learn with us!
1. Trace the picture:

2. Coloring picture:

3. Coffin Step by Step Printable:

Our Best Tutorials (for beginners), the Best Inspiration and Our Latest Projects Straight to Your Inbox! You can unsubscribe at any time, but almost everybody stays. We must be doing something right!