Introduction
Drawing drops of rain can be a bit challenging because raindrops are not necessarily perfect circles. They are circular at the bottom and straighter at the top. However, different variations can be found depending on the artist and his methods. In these 10 tutorials, you can master the art of drawing various kinds of raindrops efficiently from scratch. The tutorials are ranked based on their clarity, and categorized based on their level of difficulty.
To draw realistic raindrops, we must sketch irregular shaped circles or oblongs first. Then we must shade those drawings with a normal pencil. The shading must be darker at the top and spread out towards the bottom. WE can color the shapes white, then light and dark blue if we are using a white paper. But, if we are using a blue-toned paper we do not need to color the figures. Lastly, we need to use a whitener to draw a continuous line on top of the raindrop to add a natural 3D effect to it.
How to draw cartoon and realistic raindrops

This is a simple tutorial that explains how we can draw raindrops that are falling from the clouds and stationary. These raindrops will be shaped differently than the drops that are stationary on a surface. However, to draw these raindrops we employ the same techniques with different results due to the changes in shapes and color applications. The results are superb though. And, the tutorial is easy to grasp and put into practice by beginners.
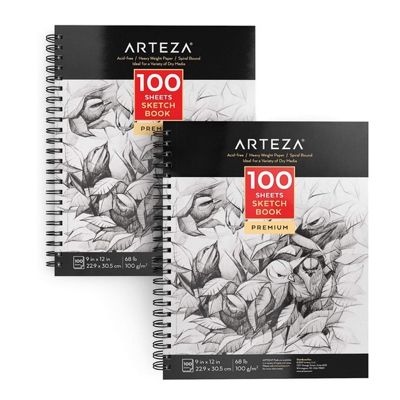
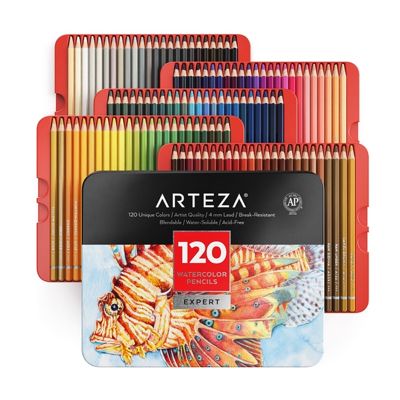
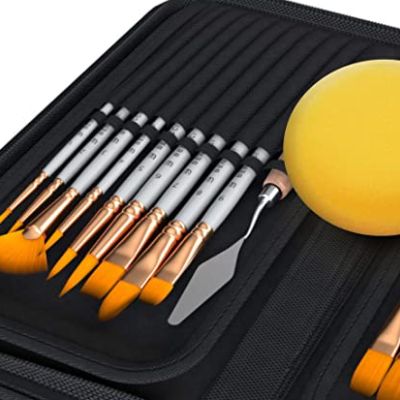
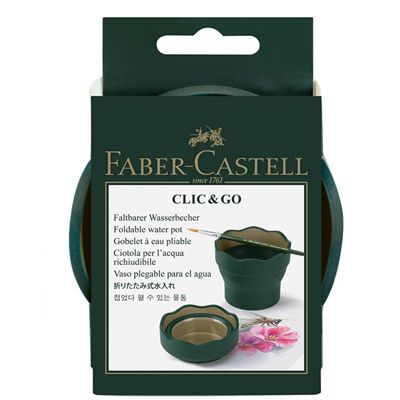
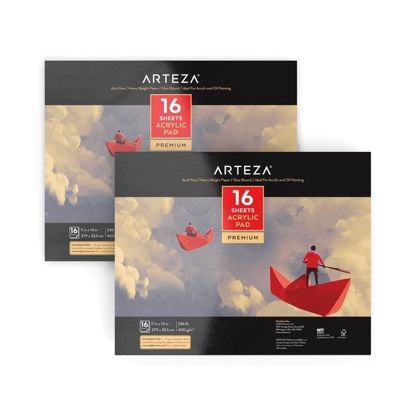
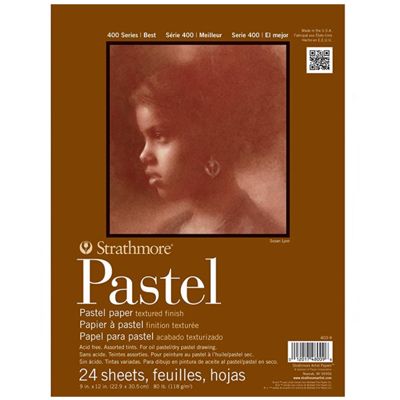
Things You'll Need:
Raindrops falling from the clouds in a beautiful 2-D view

Now, imagine looking out of the window, and observing rain falling from the clouds. The rain we see can be drawn as a pattern of blue and black drops. The drops are both straight lines and rounded blue drops. For a beginner, this is a good way to start drawing raindrops coming down to the ground. The steps can be easily followed to get the best results.
Things You'll Need:
Drawing spectacular 3-D raindrops

Firstly, a rough sketch of oblongs of various shapes is drawn. Beginning with the largest shape, the artist shades the upper side of the figure slightly, and then he creates a shadow. He only uses one HB pencil for this purpose. A blue-toned paper is used to make the background blue. Then a whitener (White marker or gel pen can be used too) is applied to the top of the shapes to create a three-dimensional effect to the drawings.
Things You'll Need:
Mesmerizing raindrops in 3D

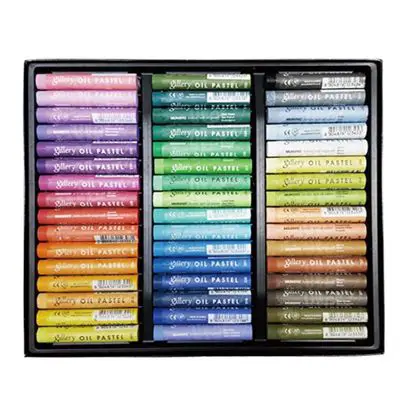
In this tutorial, the artist employs a different approach to draw breathtaking raindrops. She starts by shading the top half of the paper with grey and white colors. She uses her fingers to good effect to spread the colors throughout the area. The other half of the paper is shaded black using the soft pastels. The raindrops are then drawn on the paper as irregular shaped circular oblongs. They are shaded grey at the top and white at the bottom to add a good contrast and a realistic touch. All in all, the drawing is sensational.
Things You'll Need:
A majestic drawing of raindrops using watercolors

Each artist has a different way of drawing the same drops of rains. This tutorial is unique because Kirsty Patridge first paints the background with green watercolors, then she adds a natural contrast to the background that makes some areas darker than others. Thereafter, she draws the raindrops with dark outlines of all sizes and shapes (imperfect circles). She adds a dark shade to the top of the drops and paints them with light green. Then she uses a gel pen to color all drops white at the bottom resulting in a brilliant drawing of raindrops.
Raindrops on the window over a scenic background

This is a tutorial on how we can draw raindrops in a way that they look stationary on a window with a colorful background. The best part is the combination of shades of purple, pink, yellow, and green the artist uses to create the background. Then the uneven circular raindrops are drawn with a dark outline. Colors matching the lighter shades of background are added to the drops, and then the white color is added to the bottom to add a degree of transparency to the drops. If you are looking to draw raindrops on a scenic landscape, this tutorial is recommended.
Things You'll Need:
Raindrops drawing using a reference picture

This tutorial illustrates how you can recreate a reference image on a canvas. Tejaswani does just that by painting the background with different shades of grey, yellow, and red. Then, she draws the raindrops in various shapes such as irregular circles and horizontal lines of various widths. The result is simply amazing. It matches perfectly with raindrops striking a car’s windscreen when it is drizzling, and you are driving on the road. The background approximates the pattern of clouds.
Things You'll Need:
Fantastic looking Rain droplets

Lena Danya uses oil on canvas to create a background first. The background features different shades of green (light and dark). As a reference, Lena uses her memory of drops of water on an aquarium. After that, she draws the water drops of various shapes on the canvas and paints them with light shades of green, and later adds a brighter white line to create a three-dimensional effect to the painting. The resulting drawing is sensational.
Things You'll Need:
Drawing scattered raindrops on a window
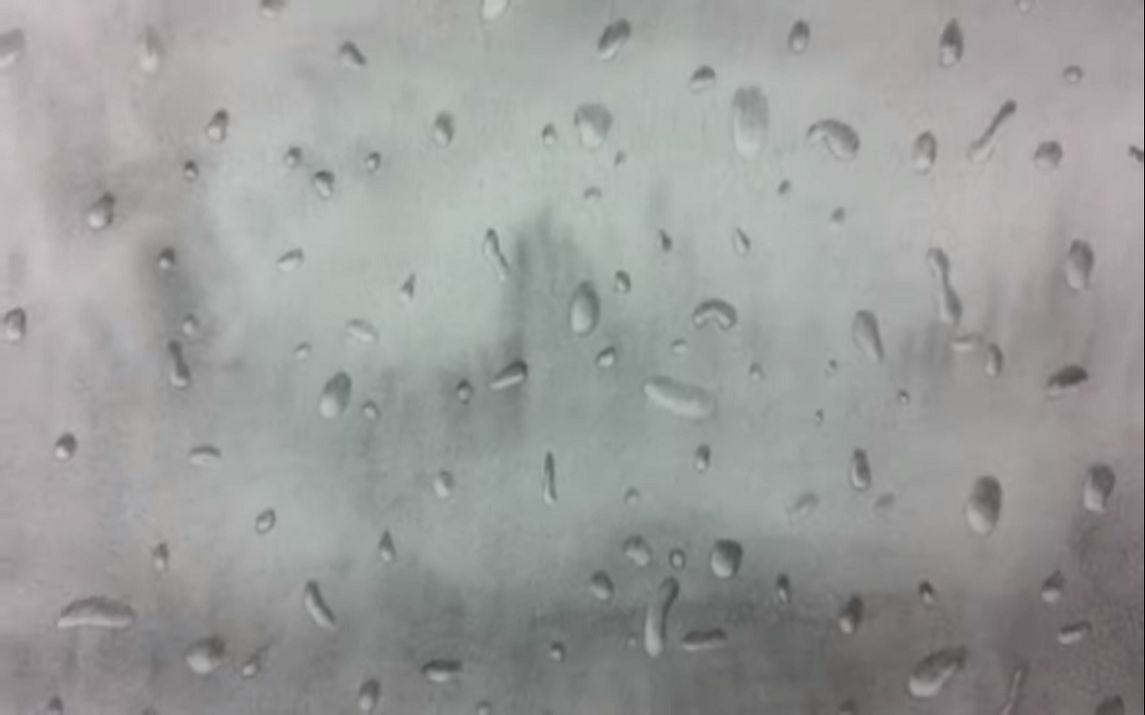
The tutorial explains with utmost clarity how you can draw beautiful raindrops that are stationary on a window. Firstly, the artist uses graphite powder to create shades of grey. Then, he uses a lead pointer to draw differently shaped raindrops one by one. The raindrops are shaded with stronger shades of grey and white at the bottom to look more transparent and realistic. A kneaded eraser is used to add whiteness to the drops.
Things You'll Need:
A quick guide to painting fabulous raindrops

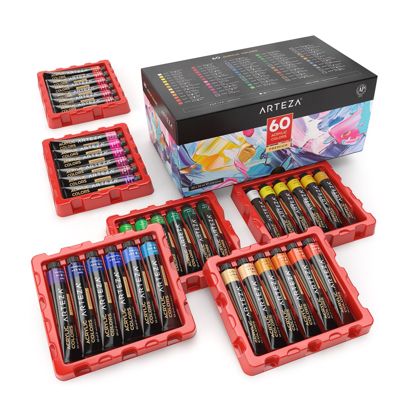
Elizebeth paints the raindrops in this tutorial using acrylic paints. This is a really quick guide on how you can draw raindrops on a painting that is already made. The result looks beautiful. She uses the traditional methods to make the drops look realistic by adding shades of grey and white to the drops. For an amateur, this is a good way to start drawing raindrops using acrylics.
Things You'll Need:

By Jimena & Iñigo
The Navarro-Rubios
My husband and I are learning how to draw and paint. We wanted to share this learning process with the world and have fun! That's why we created this blog. We'll have drawing contests every week and you'll decide who won that week! Follow along and learn with us!

Jimena & Iñigo
The Navarro-Rubios
My husband and I are learning how to draw and paint. We wanted to share this learning process with the world and have fun! That's why we created this blog. We'll have drawing contests every week and you'll decide who won that week! Follow along and learn with us!
